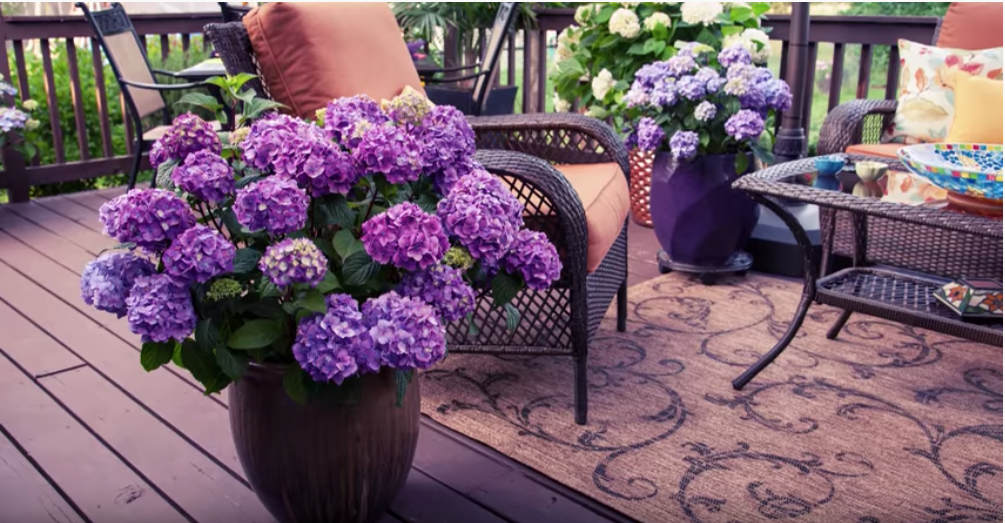
Don’t have space for the hydrangea garden of your dreams? Maybe your dream garden is still under construction, or perhaps your balcony is your green space. No problem! Endless Summer® hydrangeas thrive in pots, bringing their vibrant beauty to patios, balconies, and even tiny apartment fire escapes. Create a beautiful garden even in the smallest of spaces.
Planting hydrangeas in containers allows you to add color to multiple areas of your space. Create a stunning entrance with a pair of hydrangeas flanking your doorway. Add them to your apartment balcony and bring a splash of beauty to city living. You can even use them in your garden to add height and interest to the landscape.
The first step to planting in a pot is choosing the right hydrangea for you. We love planting Summer Crush® and Pop Star® in decorative pots thanks to their stunning bright blooms and compact size. These two will also last multiple seasons in their pot if properly cared for.
If you’re hoping to plant something a little larger, like The Original, just know that you will need to plant it in the landscape when it eventually outgrows its pot. Check out our blog on transplanting hydrangeas for more information on that process.
The size of your pot depends on how long you plan to keep your hydrangea in there and if you want to add some colorful annuals. No matter the size, make sure your pot has drainage holes to prevent root rot.
Pro Tip: Keep an eye on how quickly your potted hydrangea dries out. Unlike in-ground plants, these guys can dry out faster. Water when the soil feels dry to the touch. Check out our blog on watering to learn more about caring for your container hydrangea.
Did you know potted hydrangeas can be overwintered so you can enjoy them for multiple seasons? Yes, even our cold climate gardening friends can make this happen! Check out our blog on overwintering containers for all the tips.
Planting hydrangeas in pots is a fantastic way to enjoy their big, beautiful blooms even if you don’t have a sprawling garden. It’s a simple process with tons of benefits. So, why not give it a try and bring a touch of hydrangea magic to your outdoor space?
Be sure to follow us on social media and sign up for our newsletter. Shop the Endless Summer® collection online during our shipping season or utilize our Find a Retailer tool to locate Endless Summer® hydrangeas near you.